Crochet Ideas You’ll Love: Cozy Plaid Pumpkin for Fall
Looking for charming crochet ideas to bring a handmade touch to your autumn decorations? A plaid crochet pumpkin is a wonderful project that combines warm seasonal colors, a classic checked design, and soft sculpted texture. With its rich orange tones, contrasting ivory squares, and delicate crocheted leaves, this decorative pumpkin captures the welcoming feel of fall.
Unlike traditional pumpkins crocheted in continuous rounds, this design begins as a flat rectangle. The fabric is then joined, filled with stuffing, and shaped into a plump pumpkin. This construction makes it an interesting project for crocheters who want to explore color changes while creating something decorative.
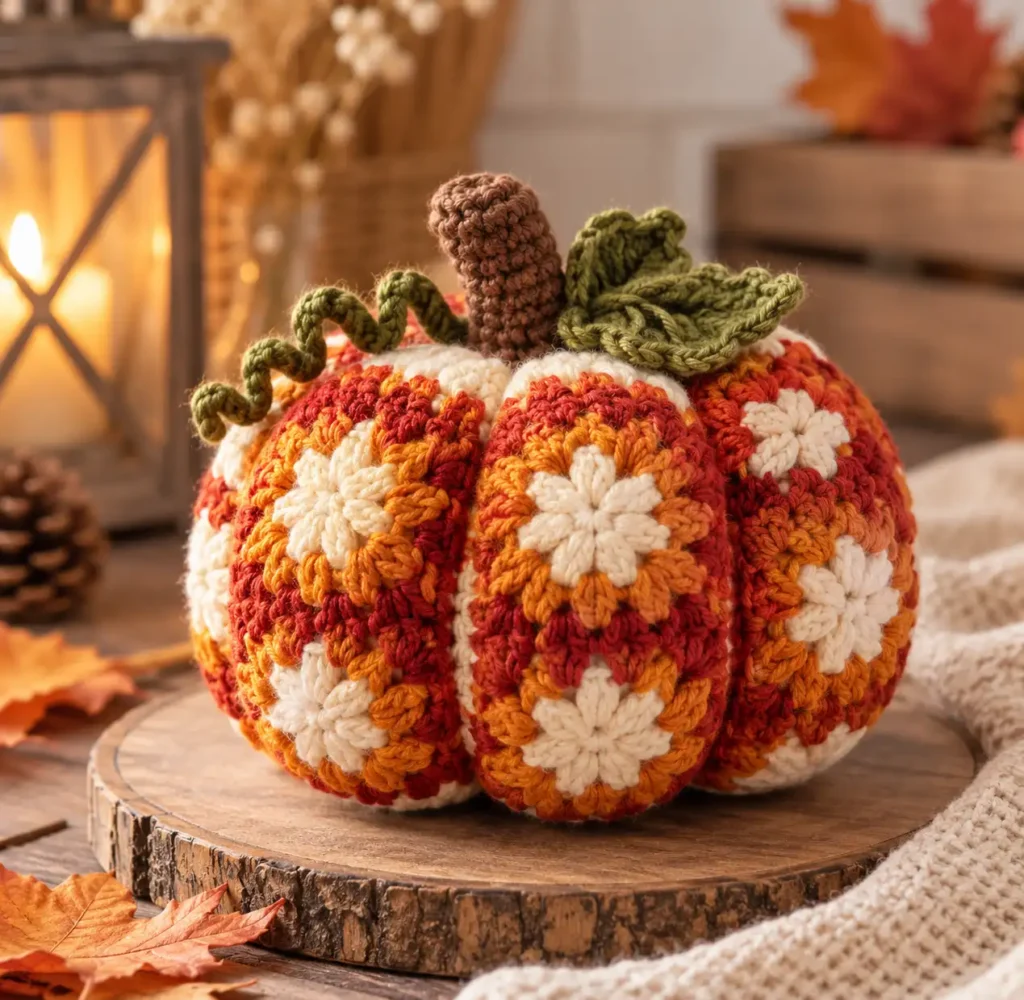
Table of Contents
Why This Plaid Pumpkin Belongs on Your Fall Crochet Ideas List
The standout feature of this pumpkin is its gingham-inspired plaid pattern. Instead of using a single solid color, the design combines three yarn shades to create a series of alternating squares.
The original project uses terra cotta orange, dark brick orange, and soft ivory. Together, these colors produce a warm checked appearance that suits autumn decorating.
One particularly useful feature is the choice of half double crochet stitches. Compared with taller double crochet stitches, half double crochet creates a more compact fabric, helping prevent the fiberfill stuffing from showing through.
The project also uses a rectangular construction rather than traditional amigurumi shaping. After crocheting the plaid fabric, the rectangle is transformed into a three-dimensional pumpkin with a few finishing techniques.
A brown stem and two green leaves complete the design.
Materials Needed for the Plaid Crochet Pumpkin
The original pattern uses worsted-weight yarn and a 4 mm crochet hook. The following materials and quantities are specified for the sample pumpkin.
Yarn and Color Requirements
- 48 yards of orange worsted-weight yarn, Lion Brand Vanna’s Choice in Terra Cotta
- 24 yards of dark orange worsted-weight yarn, Vanna’s Choice in Brick
- 24 yards of ivory worsted-weight yarn, Vanna’s Choice in Fisherman
- Small amounts of brown yarn for the stem
- Small amounts of green yarn for the leaves
Additional Supplies
- US G/6 (4.00 mm) crochet hook
- Fiberfill stuffing
- Tapestry needle
- Scissors
Using three contrasting shades helps make the plaid squares distinguishable. The brown and green details provide a natural-looking finish without competing with the main checked fabric.
Crochet Gauge and Finished Pumpkin Measurements
The reference pattern gives a gauge of approximately 4 stitches per inch using the recommended yarn and hook.
Gauge is not especially critical for this decorative project, although differences in stitch tension can affect the finished size and the density of the fabric.
The completed pumpkin measures approximately:
| Measurement | Finished size |
|---|---|
| Width | 4.5 inches (11.4 cm) |
| Height | 4.25 inches (10.8 cm) |
| Gauge | 4 stitches per inch |
| Yarn weight | Worsted weight |
| Hook size | 4.00 mm |
These dimensions create a compact decorative pumpkin suitable for displaying alongside other handmade fall decorations.
Crochet Abbreviations and Basic Techniques
The original pattern uses US crochet terminology.
| Abbreviation | Meaning |
|---|---|
| ch | Chain |
| sc | Single crochet |
| hdc | Half double crochet |
| dc | Double crochet |
| sl st | Slip stitch |
| st | Stitch or stitches |
The plaid body relies primarily on half double crochet, while the stem and leaves introduce other basic stitches.
Familiarity with changing yarn colors, working in rows, sewing seams, and gathering crocheted fabric will be helpful when completing the project.
Understanding the Plaid Crochet Technique
The checked appearance comes from changing yarn colors within rows and alternating color combinations as the fabric grows.
Rather than crocheting separate squares and sewing them together, the design creates its plaid pattern directly in a continuous rectangular piece.
Working With Half Double Crochet
Half double crochet is central to the pumpkin’s construction.
Its relatively short height creates a closely textured surface while still allowing the crocheter to build the fabric efficiently.
This is particularly important for stuffed decorations, where larger gaps between stitches can expose the filling.
Managing Color Changes
The pattern changes colors during the final step of a half double crochet stitch. This allows the next stitch to begin with the new shade.
When a yarn color is temporarily unused, it is carried along the row and crocheted over until needed again.
Yarn carried between rows can also travel along the side edge of the rectangle. That edge is eventually concealed inside the pumpkin’s seam.
The reference pattern additionally specifies that the beginning chain-two turning chain does not count as a stitch.
These details help maintain the plaid arrangement and consistent stitch placement throughout the fabric.
How the Plaid Crochet Pumpkin Is Constructed
The pumpkin is assembled in several stages, beginning with a flat checked panel and ending with a rounded, stuffed decoration.
Creating the Rectangular Body
The main fabric is crocheted back and forth in rows, using alternating blocks of orange, dark orange, and ivory.
As the rows accumulate, the repeated color combinations create the gingham-style pattern.
Joining and Stuffing the Pumpkin
Once the rectangular panel is finished, its short edges are brought together and joined to form a tube.
The original designer describes both sewing and slip stitching as possible joining methods, with a preference for the appearance of a sewn seam.
After joining, the tube is turned right side out.
One opening is gathered and secured using yarn and a tapestry needle. The body is then filled with fiberfill before the remaining opening is gathered closed.
At this stage, the piece resembles a rounded stuffed form rather than a fully shaped pumpkin.
Shaping the Pumpkin’s Rounded Sections
The characteristic pumpkin shape is created by drawing yarn around the stuffed body.
The yarn is pulled snugly to form indentations that divide the pumpkin into distinct sections. The original design features eight sections.
These indentations transform the rounded form into a more recognizable pumpkin silhouette.
The shaping yarn is secured, and loose ends are woven into the finished fabric.
This finishing technique is what gives the pumpkin its gently segmented appearance without requiring the plaid body itself to be crocheted in separate sections.
Crocheting the Pumpkin Stem
The small brown stem adds height and a natural finishing detail to the top of the pumpkin.
In the original pattern, the stem begins with a magic ring and is worked using single crochet stitches.
The short cylindrical piece is lightly stuffed and attached to the top of the pumpkin.
The brown yarn provides a visual contrast against the orange and ivory plaid body.
Adding Decorative Crochet Leaves
Two green crochet leaves complete the project.
The original leaves are constructed using chains, double crochet stitches, and slip stitches. Their shape includes pointed details that help distinguish them from the rounded pumpkin body.
Both leaves are worked as connected decorative elements and sewn into place near the stem.
The green accents introduce a fresh contrast to the autumn palette while keeping the overall design simple.
For the exact stitch sequence for the stem and leaves, consult the original pattern.
More Handmade Pumpkin Crochet Ideas for Autumn
The same designer also features several related fall projects that explore different pumpkin shapes and decorative uses.
Small and Large Crochet Pumpkins
The Crochet 365 Knit Too collection includes both small and large crochet pumpkin patterns. These offer alternatives for anyone interested in creating pumpkins of different sizes.
Crochet Pumpkin Coasters
Pumpkin-shaped coasters provide another way to incorporate seasonal crochet into the home, with a practical use beyond decoration.
Fall Crochet Wreath
The designer’s fall wreath project includes small pumpkins with a ribbed texture, offering another approach to crocheted pumpkin construction.
The plaid crochet pumpkin brings together colorwork, simple stitches, fabric assembly, and decorative shaping in one seasonal project. Its checked surface and small crocheted details make it a distinctive addition to a collection of fall crochet ideas.
Conclusion: A Cozy Addition to Your Fall Crochet Ideas
The plaid crochet pumpkin is a charming way to bring handmade warmth into your autumn decorations. Its classic checked pattern, soft rounded shape, and delicate stem and leaves create a seasonal accent that feels both traditional and creative.
This project also offers an opportunity to practice color changes, half double crochet stitches, and simple assembly techniques. Working from a flat rectangle to a finished three-dimensional pumpkin makes the construction especially interesting.
Whether displayed on a shelf, arranged in a fall centerpiece, or given as a handmade seasonal gift, this pumpkin adds a personal touch to autumn decorating.
Frequently Asked Questions About the Plaid Crochet Pumpkin
1. Is the plaid crochet pumpkin suitable for beginners?
The project is most approachable for crocheters who already understand basic stitches and simple color changes. Although the main body uses half double crochet, creating the plaid pattern requires attention to yarn placement and consistent tension.
Beginners who are comfortable crocheting in rows can use this project to develop their colorwork and finishing skills.
2. Why is half double crochet used for the pumpkin body?
Half double crochet creates a relatively dense fabric that helps keep the fiberfill from showing through the stitches. It also provides a smooth surface for the plaid color pattern.
Maintaining even tension is useful for keeping the checked design neat and the stuffed pumpkin evenly shaped.
3. Can I use different colors for my plaid crochet pumpkin?
Yes. The original pattern combines three contrasting shades to create its checked appearance, but the same visual concept can be explored with other color combinations.
Choosing colors with noticeable contrast helps preserve the plaid effect. Different yarns or changes in tension may affect the finished size and appearance.
4. How does the flat crochet rectangle become a pumpkin?
The rectangular fabric is joined along its short edges to form a tube. One opening is gathered closed, the body is stuffed, and the remaining opening is secured.
Yarn is then drawn around the stuffed body to create the pumpkin’s rounded sections. Finally, the crocheted stem and leaves are attached to complete the decoration
Leave a Reply